
⚡ Quick Answer
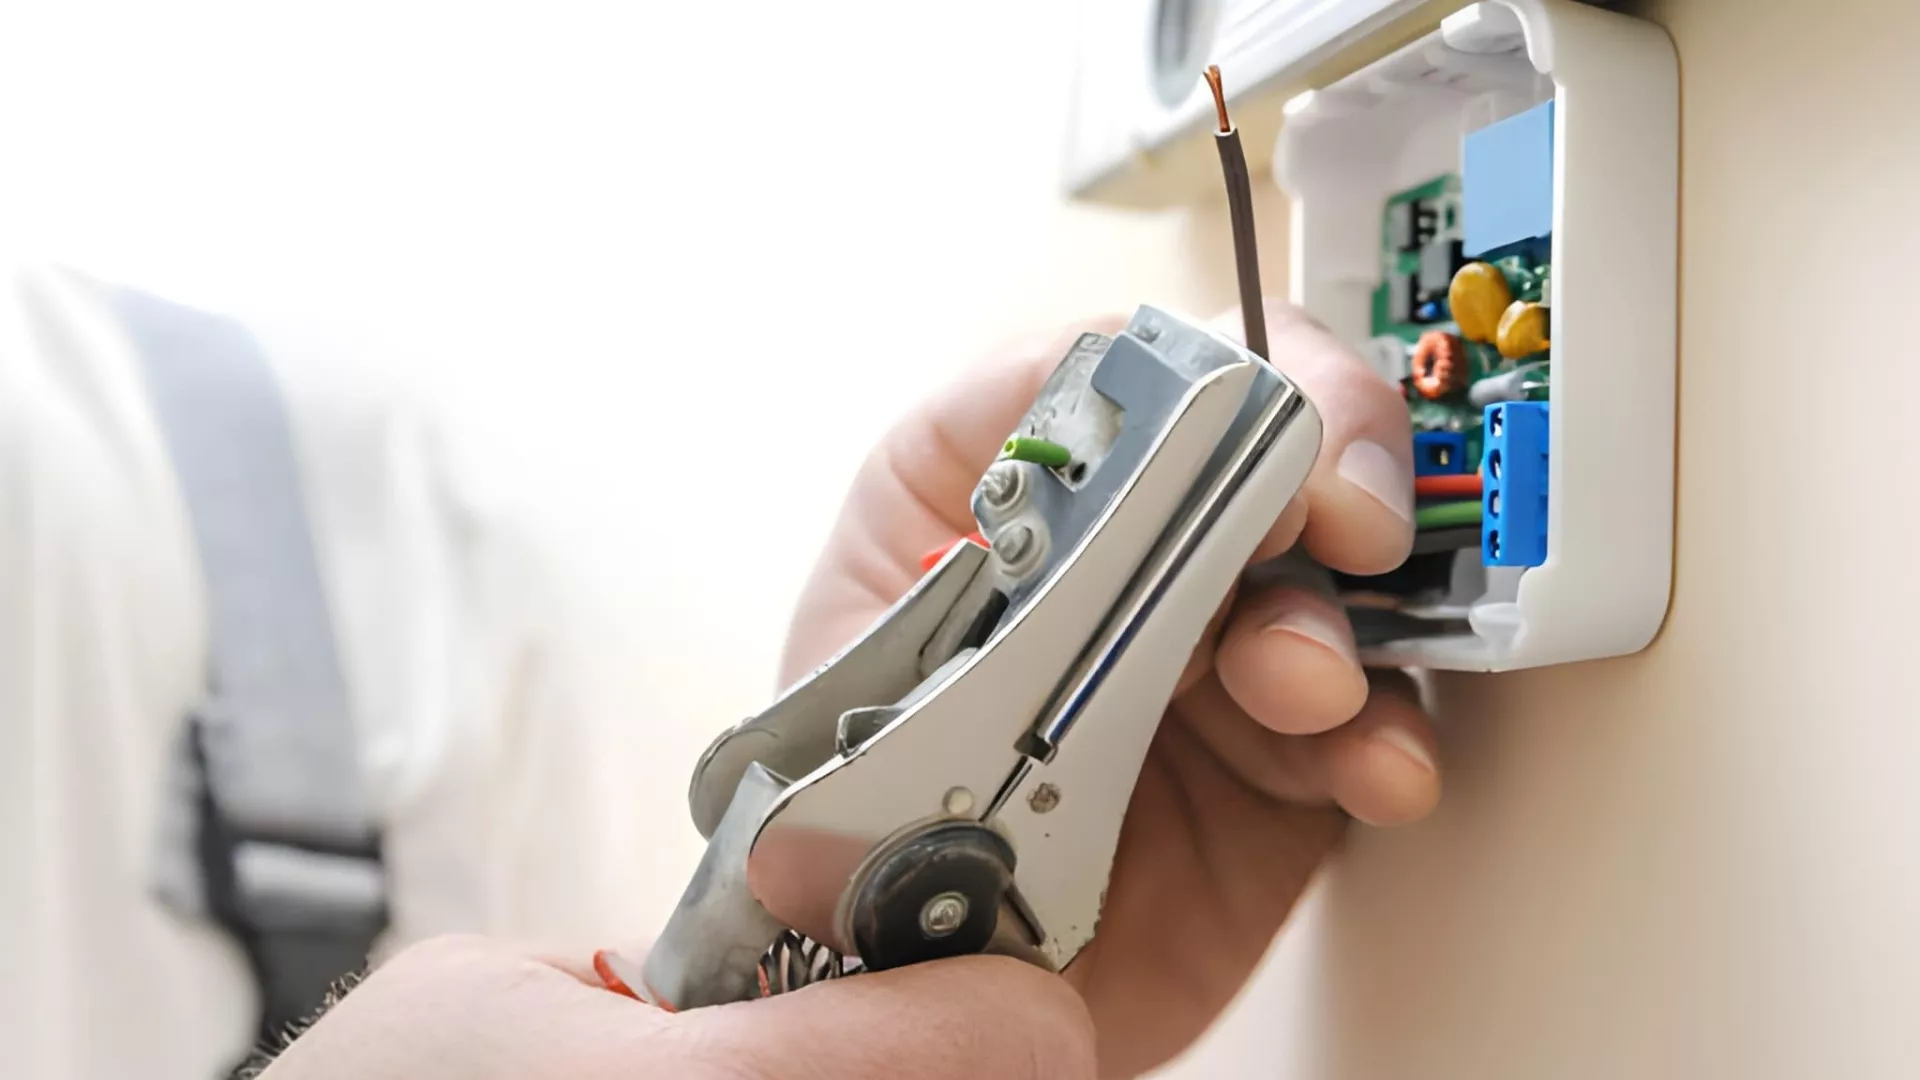
Yes — you can absolutely install a programmable thermostat without a C wire. There are four proven methods: battery-powered models, power-stealing thermostats, plug-and-play adapter kits, and unused wire conversion. Top models like the Sensi Lite, ecobee, and Google Nest all work without a C wire right out of the box. Most homeowners finish the installation in 15–30 minutes with zero new wiring and start saving 8–10% on energy bills from the very first month.
4 Ways to Install a Programmable Thermostat Without C Wire: At a Glance
| Method | How It Works | Ease | Best For |
|---|---|---|---|
| Battery-Powered | Runs on AA batteries — no wiring changes | ⭐⭐⭐⭐⭐ Easiest | Absolute simplicity, any home |
| Power Stealing | Harvests tiny power from existing R or Y wires | ⭐⭐⭐⭐ Very easy | Standard gas/AC systems |
| Adapter Kit | Small box at furnace — plug and play | ⭐⭐⭐⭐ Easy | WiFi + smart features |
| G-Wire Conversion | Repurpose unused wire as C wire | ⭐⭐⭐ Moderate | Permanent fix, spare wire available |
🔑 5 Key Takeaways
- Over 26 million U.S. homes built before 1990 lack C-wire support — you are far from alone
- Battery-powered and adapter-kit models deliver full programmable scheduling with zero new wiring
- Top no-C-wire models cost $40–$250 and pay for themselves in 6–18 months
- 95% of standard single-stage HVAC systems are compatible with no-C-wire solutions out of the box
- Programmable scheduling still saves 8–10% on heating and cooling bills — about $100–$180 per year
What Is a C-Wire and Why Do Millions of Homes Still Lack One?
What the C-Wire Actually Does
The C-wire — short for common wire — is typically a blue or black wire that delivers a constant 24-volt power supply from your furnace or air handler to your thermostat. Think of it like the charging cable for your thermostat. Without it, modern programmable and smart thermostats struggle to power their WiFi radios, colour displays, and always-on scheduling features. Older thermostats never needed this constant power because they ran entirely on batteries or used a trick called power stealing — borrowing tiny amounts of electricity from other wires.
Why So Many Homes Still Do Not Have One
Here is the key reason millions of homeowners face this problem today. When most American homes were built — particularly those constructed before 1990 — thermostats were simple mechanical or basic digital devices. They did not need WiFi, colour screens, or continuous power. So builders simply did not run a C-wire to the thermostat location. According to the National Association of Home Builders, over 26 million U.S. homes built before 1990 lack the electrical infrastructure for easy C-wire support. In many service areas, homes built before 2000 are missing the C-wire approximately 60% of the time.
Why This Is Now the Number One Upgrade Challenge
As programmable and smart thermostats have become the standard recommendation for energy savings, the C-wire gap has become the number one upgrade request for HVAC contractors across the country. The good news is that the industry has responded with multiple reliable solutions — and most of them require no new wiring, no professional help, and under 30 minutes of your time.
4 Super-Easy Ways to Get a Programmable Thermostat Without C-Wire
Method 1: Battery-Powered Models
The simplest solution of all. Battery-powered programmable thermostats run entirely on standard AA batteries — no constant power connection needed at all. You install them exactly like any other thermostat, connect your existing heating and cooling wires, and the batteries handle everything else. The trade-off is that you will need to replace batteries once or twice a year. For homeowners who want the absolute easiest upgrade with zero complications, this is the go-to choice.
Method 2: Power-Stealing / Energy-Harvesting Thermostats
Power-stealing thermostats — like the Sensi ST55 — are clever devices that draw tiny amounts of electricity from your existing R or Y wires to power themselves. This happens automatically without any extra wiring. The amount of power borrowed is so small that it does not affect your HVAC system’s normal operation. This method works reliably on most standard gas furnace and central AC systems and is the approach used by several top-rated 2026 models right out of the box.
Method 3: Included Adapter Kits
Several leading smart thermostat brands include a small plug-and-play adapter in the box that solves the C-wire problem permanently. The ecobee Power Extender Kit (PEK) and the Google Nest Power Connector are the most well-known examples. You mount a small box at your furnace — a 5-minute job — and it creates the equivalent of a C-wire connection using your existing wiring. Once installed, your thermostat gets continuous, stable power with no battery changes ever needed.
Method 4: G-Wire Conversion
If your thermostat wiring bundle contains an unused extra wire, you can repurpose it as a C-wire by connecting both ends correctly — at the thermostat and at the furnace control board. Many HVAC professionals call this the cleanest permanent fix available. However, this method requires correctly identifying an unused wire and making connections at the furnace — so it is best suited for confident DIYers or done with professional guidance. It is not recommended as a long-term solution to repurpose your G (fan) wire, as this disables independent fan control.
Zero wiring. Replace 1–2× per year. Best for simplicity.
Uses existing wires. No batteries. Works on most systems.
Small furnace box. Permanent power. Best for smart features.
Uses spare wire. Permanent fix. Needs spare wire in wall.
Best Programmable Thermostats Without C-Wire in 2026
How These Models Were Selected
The models below were chosen based on 2026 reviews from Android Central, PCMag, Consumer Reports, and Home Depot sales data. Each one is confirmed to work without a C-wire in the majority of standard HVAC setups. They cover every budget — from a no-frills $40 battery model to a full-featured $250 smart thermostat with room sensors. All support full 7-day programmable scheduling and the energy-saving setbacks that deliver 8–10% annual bill reductions.
2026 No-C-Wire Thermostat Comparison Table
| Model | No-C-Wire Method | Price | Best For | Compatibility |
|---|---|---|---|---|
| Sensi Lite / ST55 | 2 AA batteries + power stealing | $90–$130 | Budget + simple schedules | Most heat/cool/heat pump systems |
| ecobee3 Lite / Premium | Power Extender Kit (included) | $150–$250 | Smart features + room sensors | 95%+ of all systems |
| Google Nest (4th Gen) | Energy harvesting or Power Connector | $130–$180 | Google Home users | Most systems (adapter extra if needed) |
| Honeywell / Emerson Basic | AA batteries only | $40–$80 | Non-WiFi programmable | 2- or 4-wire systems |
DIY Step-by-Step — Install in 15–30 Minutes, No Rewiring
What You Need Before You Start
Before touching anything, gather these items:
- 📱 Your smartphone — for the manufacturer’s app and installation guide
- 🔧 A small flathead and Phillips screwdriver — most thermostat installations need nothing else
- 📸 Your camera — to photograph existing wiring before disconnecting anything
- ⚡ Your breaker panel location — you must turn off power before starting
- 🔋 Fresh AA batteries — if installing a battery-powered model
Step-by-Step Installation Guide
- Turn off power at the breaker — find your furnace or HVAC breaker and switch it off. Never work on live thermostat wiring.
- Snap off the old thermostat faceplate — most pull straight off. Some have a small screw at the bottom.
- Photograph your existing wiring — take a clear, well-lit photo of every wire and its terminal label before touching anything. This is your most important reference.
- Match wires to the new base — the manufacturer app (Sensi, ecobee, Nest) shows you exactly which wire goes where using photos and colour coding.
- Attach the new thermostat — click the display onto the base. Insert batteries if required.
- Restore power at the breaker — your thermostat will power up and guide you through setup.
- Download the app and programme your schedule — set your Wake, Leave, Return, and Sleep temperatures to start saving immediately.
How Long Does It Actually Take?
For a battery-powered model like the Sensi Lite or a basic Honeywell, most homeowners finish in under 15 minutes. For a model with an adapter kit like the ecobee PEK, add another 10–15 minutes to mount the small box at the furnace — bringing the total to around 30 minutes. Both the Sensi and ecobee apps walk you through every step with photos and short video clips, making this genuinely achievable for anyone who has never changed a thermostat before.
Battery-Powered vs Adapter Kits – Which One Fits Your Home?
Battery-Powered Models: Pros and Cons
Battery-powered programmable thermostats are the simplest possible no-C-wire solution. There are no extra components, no furnace visits, and no compatibility concerns beyond your basic wire count. Simply install, connect your existing wires, and you are done. The cons are equally straightforward — you will need to replace the AA batteries once or twice a year. Most models alert you on screen when batteries are running low, so you are never caught off guard. Battery models are the best fit for homeowners who want zero complexity and the fastest possible installation.
Adapter Kit Models: Pros and Cons
Adapter kits — like the ecobee Power Extender Kit — solve the C-wire problem permanently and elegantly. A small box mounts at your furnace and creates a stable power connection using your existing wiring. Once installed, your thermostat receives continuous 24V (82.4°F) equivalent power with no batteries to change — ever. The slight trade-off is the additional 10–15 minutes needed to mount the box at the furnace. However, adapter kits unlock the full range of smart features — WiFi, remote app control, geofencing, and learning — that battery models sometimes limit to preserve power.
Simple Decision Framework
- ✅ Choose battery-powered if: you want the fastest install, hate maintenance tasks, or only need basic programmable scheduling without WiFi
- ✅ Choose an adapter kit if: you want full smart features, remote app control, and never want to think about batteries again
- ✅ Choose adapter kit if: you plan to use geofencing or voice control with Alexa or Google Home
- ✅ Choose battery if: you are installing in a rental property and want the simplest, most durable setup
“The C-wire barrier stops a huge number of homeowners from upgrading to programmable thermostats — and it really should not. The adapter kit solutions from ecobee and the power-stealing approach from Sensi are both genuinely reliable. In ten years of installations, I have seen very few failures from either method when the right model is matched to the right system. The key is always checking compatibility first — which takes about two minutes with any manufacturer’s online tool.”
Quick Compatibility Check — Will It Work With Your HVAC System?
How to Count Your Existing Wires
The fastest compatibility check starts at your existing thermostat. Remove the faceplate and count the wires connected to terminals — not just the wires in the wall, but the ones actually connected to labelled terminals. Write down each terminal letter (R, W, Y, G, C, O/B) and the wire colour attached to it. Take a photograph. You need at minimum an R wire (power) plus at least one call wire (W for heat, Y for cooling) for any no-C-wire thermostat to function.
System Type Compatibility
Most no-C-wire programmable thermostats work with the three most common residential HVAC setups:
- 🔥 Heat-only systems (gas furnace, boiler) — fully compatible with battery and power-stealing models
- ❄️ Cool-only or heat + cool systems (central AC + gas furnace) — compatible with all four methods
- 🔁 Heat pump systems — compatible with ecobee PEK and most adapter kits; check O/B wire support
Important exception: Electric resistance heating systems (electric baseboard, electric furnaces) are not compatible with power-stealing models. Use a battery-powered model or adapter kit instead for these systems.
Use the Free Online Compatibility Checkers
Before purchasing any thermostat, use the free compatibility checker tools available on every major manufacturer’s website. Sensi, ecobee, and Google Nest all offer these — you simply enter your wire terminals and system type, and the tool confirms compatibility in seconds. This two-minute check prevents the most common and frustrating mistake: buying a thermostat that does not work with your specific system. According to field data, 95% of standard single-stage systems are compatible with at least one no-C-wire solution right out of the box.
When You Genuinely Need Professional Help
In a small number of cases, professional assistance is the right call. These include: systems with more than 2 stages of heating or cooling, older millivolt heating systems (common in older gas wall heaters), or situations where your wiring bundle contains fewer than two active wires. If the manufacturer’s compatibility checker flags your system as incompatible, a qualified HVAC technician can assess whether running a new C-wire is feasible — often a straightforward job that costs $100–$200 and solves the problem permanently.
Real Costs, Savings and Payback Time for No-C-Wire Upgrades
Full Cost Breakdown
One of the most reassuring aspects of upgrading to a programmable thermostat without a C wire is how affordable the total cost really is. Here is what to budget for:
- 🌡️ Thermostat purchase: $40–$250 depending on model and features
- 🔌 Adapter kit (if needed): $0 — included with ecobee and Nest models; $25–$50 if purchased separately
- 🔧 Professional installation (optional): $100–$200 if you prefer not to DIY
- 🔋 Annual batteries (battery models only): $5–$10 per year
Annual Energy Savings You Can Expect
The energy savings from programmable scheduling are well-documented and consistent. According to ENERGY STAR 2026 data, correct use of programmable setbacks delivers 8–10% lower heating and cooling bills for the average home. In dollar terms, that works out to approximately $100–$180 per year for most U.S. households — with larger homes and higher energy costs seeing savings toward the upper end of that range.
ROI Summary Table
| Cost / Saving Factor | Low Estimate | High Estimate |
|---|---|---|
| Thermostat + adapter (total) | $40 | $250 |
| Utility rebate (if available) | -$50 | -$100 |
| Net upfront cost | $0 (rebate covers it) | $150–$200 |
| Annual energy savings | $100/year | $180/year |
| Payback period | Under 6 months | 12–18 months |
| 5-year net savings | $460–$500 | $700–$800 |
Based on ENERGY STAR 2026 benchmark savings of $100–$180/year. Rebate availability varies by utility provider and state.
How to Find Utility Rebates in Your Area
Many utility companies offer $50–$100 rebates on programmable and smart thermostat purchases — which can dramatically reduce or even eliminate your net upfront cost. Visit the ENERGY STAR Rebate Finder at energystar.gov, or go directly to your utility provider’s website and search for “thermostat rebate.” Some states also offer additional incentives through energy efficiency programmes. Always check before purchasing — a $100 rebate on a $150 ecobee makes the decision almost effortless.
5 Mistakes to Avoid When Upgrading Without a C-Wire
Mistake 1: Using a Power-Stealing Model on Electric Heat Systems
Mistake 2: Skipping the App and System Compatibility Check
Mistake 3: Buying a Smart Model That Secretly Still Needs a C-Wire
Mistake 4: Skipping the Breaker Shut-Off Before Starting
Mistake 5: Only Testing in One Season
Frequently Asked Questions
What is a C wire for a thermostat?
The C-wire — or common wire — is typically a blue or black wire that delivers a constant 24-volt power supply from your furnace or air handler to your thermostat. Modern programmable and smart thermostats use this continuous power to run WiFi radios, colour displays, and always-on scheduling features. Without a C-wire, these features either drain batteries rapidly or rely on power-stealing from other wires. Older thermostats did not need a C-wire because they were simple mechanical devices that ran on batteries or required no continuous power at all.
How do I install a thermostat without a C wire?
The easiest approach is to choose a thermostat specifically designed for no-C-wire installations. For a battery-powered model like the Sensi Lite, simply connect your existing wires to the new base and insert batteries — done in under 15 minutes. For an adapter kit model like the ecobee with PEK, mount the small adapter box at your furnace, connect the wires per the app’s photo guide, then attach the thermostat — done in about 30 minutes. Both the Sensi and ecobee apps walk you through every step with clear photos and video guidance.
Which thermostats do not require a C wire?
The top confirmed no-C-wire options in 2026 are:
- ✅ Sensi Lite / ST55 — batteries plus power stealing, works on most standard systems
- ✅ ecobee3 Lite / Premium — Power Extender Kit included in the box
- ✅ Google Nest (4th Gen) — energy harvesting or optional Power Connector accessory
- ✅ Honeywell / Emerson basic programmable models — AA batteries, no WiFi, widest compatibility
Does the Sensi thermostat require a C wire?
No — the Copeland Sensi ST55 and Sensi Lite are explicitly designed for no-C-wire installations. They are labelled “No C-Wire Required for Most Systems” and use a combination of AA batteries and power sharing from existing wires. They work reliably on approximately 95% of standard residential HVAC systems — including gas furnaces, central AC, and most heat pump setups. The only exception is electric resistance heating systems, where a battery-only mode is recommended.
Can I use an unused wire as a C wire?
Yes — and this is often the cleanest permanent solution when an extra wire exists in your wall. If your thermostat wiring bundle contains an unused wire — often white, blue, or brown — you can repurpose it as a C-wire by connecting both ends correctly: at the thermostat terminal labelled C and at the C terminal on your furnace control board. Many HVAC professionals recommend this as the tidiest long-term fix. However, it does require opening your furnace panel and making a connection at the control board — so if you are not confident doing this, a qualified technician can complete it quickly for a modest fee.
Is it safe to run a thermostat without a C wire?
Yes — when you use the right model for your system. Battery-powered models are completely safe on any compatible system. Power-stealing models are safe on standard gas furnace and central AC systems but should not be used on electric resistance heating. Adapter kits are safe on virtually all compatible systems. The key safety rule is always the same: use the manufacturer’s compatibility checker before purchasing, and always turn off the HVAC breaker before connecting any wires. The top 2026 no-C-wire models are specifically engineered to operate safely and reliably without a common wire connection.
Conclusion
No C-Wire Is Not a Barrier — It Is a Solved Problem
The absence of a C-wire stops far too many homeowners from upgrading to a programmable thermostat — and it genuinely should not. As this article has shown, there are four reliable, proven methods to install a programmable thermostat without a C-wire. Battery-powered models, power-stealing thermostats, adapter kits, and unused wire conversion all work well — and the right choice for your home comes down to your system type, your budget, and how much ongoing maintenance you want.
The energy savings waiting on the other side of this upgrade are real and well-documented. 8–10% lower heating and cooling bills. Around $100–$180 per year. A payback period of 6–18 months. And a 5-year net return of $500–$800 after the purchase price. For a 15–30 minute DIY installation, that is one of the best returns on time and money available to any homeowner right now.
Furthermore, with over 26 million U.S. homes still lacking C-wire support, the manufacturers have invested heavily in making these solutions genuinely easy. The Sensi, ecobee, and Nest apps make installation approachable for anyone — with photo guides, video walkthroughs, and free compatibility checkers that remove the guesswork entirely.