
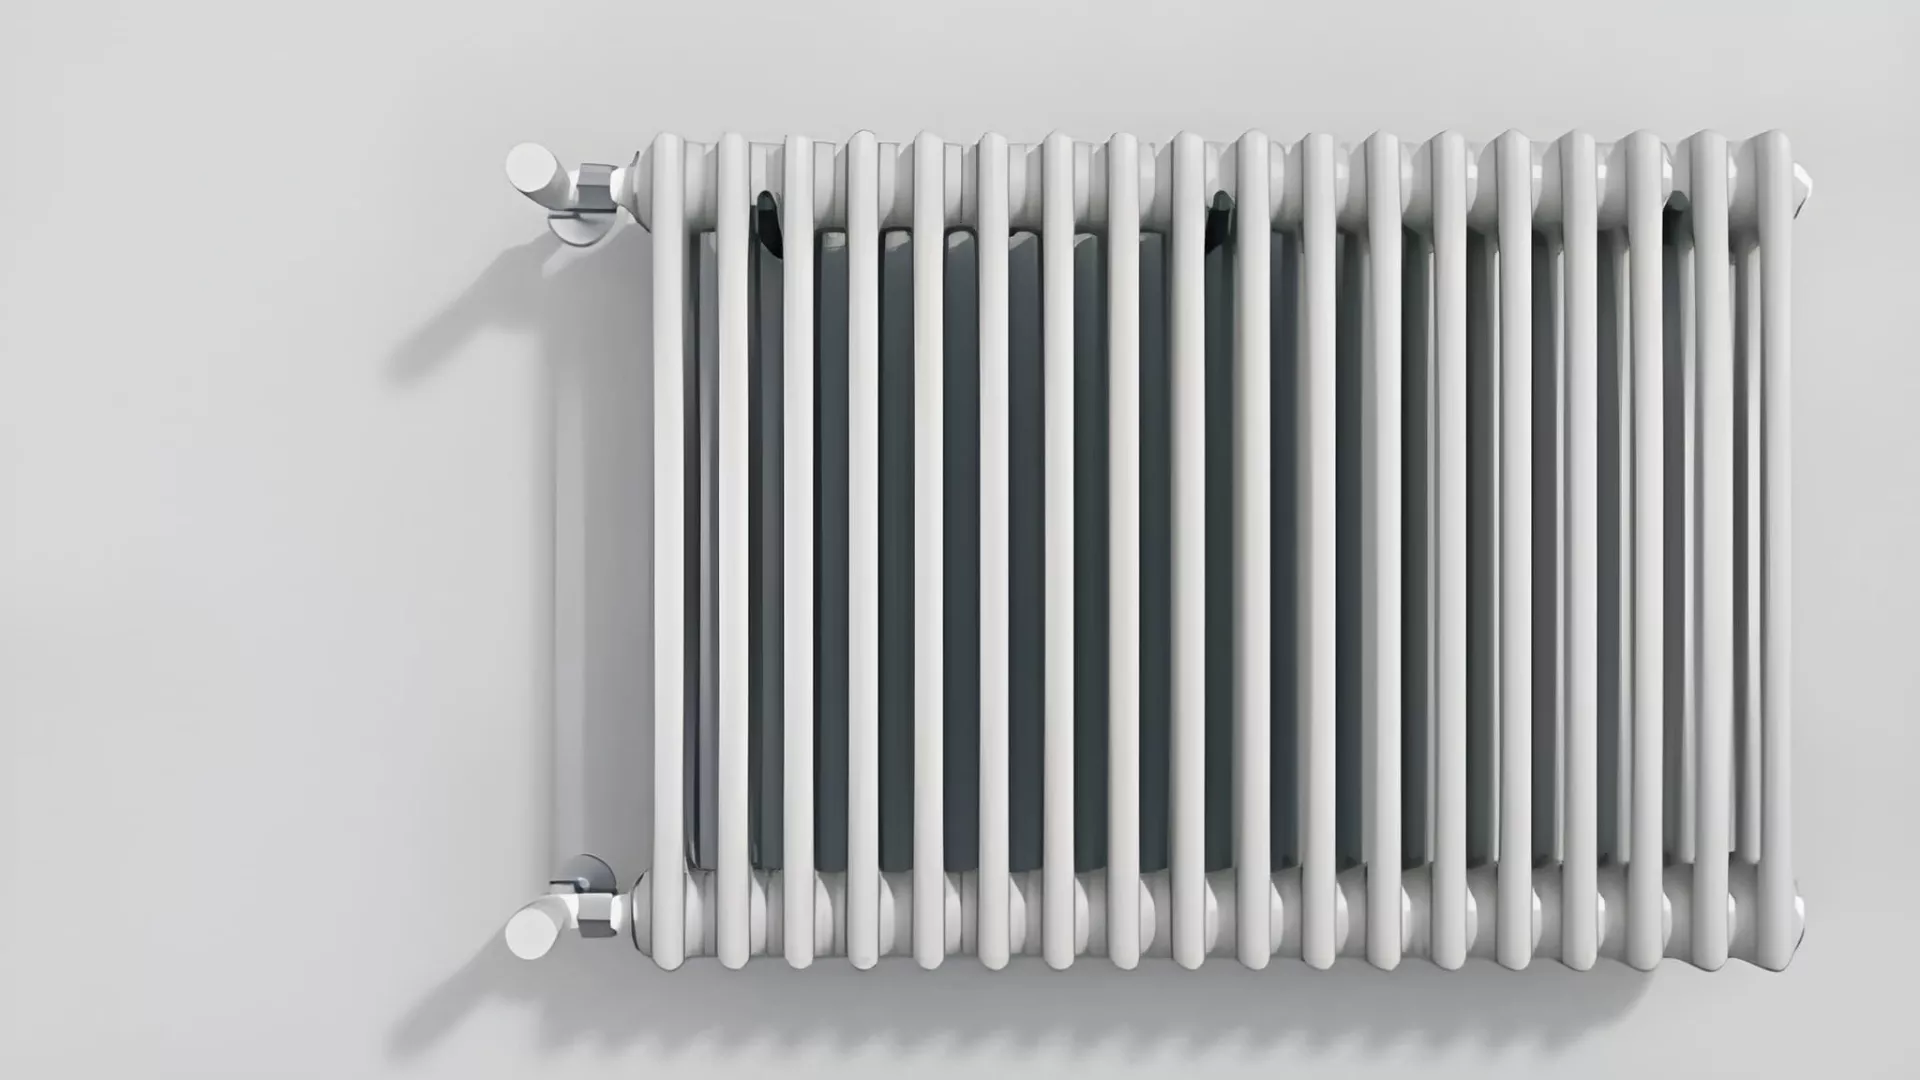
⚡ Quick Diagnosis: Why Is Your Radiator Cold?
In the majority of cases, a cold radiator is caused by a stuck TRV pin — not a boiler fault or a major plumbing problem. The fix takes under 30 seconds, requires no tools, and costs absolutely nothing. Remove the TRV head, find the small metal pin in the centre, and push it in and out several times. That’s it.
| Problem | How Common | Typical Symptom | DIY Fix? |
|---|---|---|---|
| Stuck pin / valve | Most common | Radiator stays completely cold | ✅ Yes |
| Faulty thermostatic head | Very common | Radiator stays hot or cold regardless of setting | ✅ Yes (head swap) |
| Leaking valve | Occasional | Water dripping from valve body | ⚠️ Sometimes |
| Noisy / whistling | Less common | Whistling or knocking sounds | ⚠️ Sometimes |
| Valve won’t close fully | Occasional | Room overheats constantly | ❌ Call a pro |
Dealing with TRV problems is frustrating — especially when your radiator stays cold while the rest of the house heats up. The good news is that most TRV issues are simple to diagnose and even simpler to fix. Let’s walk through everything step by step.
Why Your Radiator Won’t Heat Up: The #1 TRV Problem
Why the Stuck Pin Is the Most Common Culprit
Inside every TRV valve body sits a small metal pin. The thermostatic head pushes this pin down to open the valve and allow hot water to flow. After months of summer inactivity — when your heating system sits unused — this pin can seize against its washer and become stuck in the closed position.
The result is simple but frustrating: hot water cannot enter the radiator, so it stays completely cold — even when your boiler is running perfectly. This stuck pin is responsible for the majority of TRV call-outs reported by heating engineers across the UK and US in 2025–2026.
How to Spot a Stuck Pin in 30 Seconds
Spotting a stuck pin is straightforward. First, remove the TRV head by unscrewing or pulling it off. Then look at the centre of the valve body — you will see a small metal pin sticking up. Press it down with your finger. If it feels stiff, springy but resistant, or completely immovable, it is almost certainly stuck. A working pin should push down smoothly and spring back up with light resistance.
Common TRV Problems– Causes and Symptoms
The Full Problem Breakdown
TRV problems fall into five main categories. Each one has a distinct cause and a recognisable set of symptoms. Understanding which problem you have is the fastest way to find the right fix — and avoid paying for repairs you don’t actually need.
| Problem | Main Cause | Typical Symptom |
|---|---|---|
| Stuck pin / valve | Lack of use over summer | Radiator stays completely cold |
| Faulty thermostatic head | Wax capsule failure or worn mechanism | Radiator stays hot or cold regardless of setting |
| Leaking valve | Worn O-ring or overtightening | Water dripping from valve body |
| Noisy / whistling TRV | High water flow or air in system | Whistling or knocking sounds |
| Valve won’t close fully | Debris or damaged seat | Room overheats constantly |
How to Tell Which Problem You Have
Use these quick identification clues to narrow down your specific TRV problem:
- 🔴 Radiator completely cold → Almost certainly a stuck pin. Start with the DIY fix.
- 🔴 Radiator always hot, won’t turn off → Likely a faulty thermostatic head. Replace the head.
- 🔴 Water dripping near the valve → Leaking O-ring or overtightened fitting. May need a plumber.
- 🔴 Hissing or whistling noise → Air in the system or flow rate too high. Bleed the radiator first.
- 🔴 Room constantly too hot → Valve seat may be damaged. Call a professional.
Quick Diagnosis Checklist: Is Your TRV Really Broken?
Three Questions to Ask First
Before assuming your TRV is broken, work through these three quick checks. In many cases, the problem is something even simpler — and the TRV itself is perfectly fine.
- Is the lockshield valve fully open? The lockshield valve is the capped valve on the opposite end of the radiator. If it has been accidentally closed, no hot water can enter — regardless of what the TRV is doing. Remove the cap and open it fully by turning anticlockwise.
- Have you tried the pin-push test? Remove the TRV head and press the central pin down several times with your finger. If the radiator starts to warm up shortly after, the stuck pin was the only problem.
- Is your boiler actually running? Check that your boiler is firing and that other radiators in the home are heating up normally. A system-wide cold issue points to the boiler — not the TRV.
The Radiator Heat Test
This is the most reliable way to confirm whether your TRV is the problem. Simply remove the TRV head completely and leave the valve body exposed. Then turn your heating on and wait five to ten minutes. If the radiator begins to heat up — it means the valve body is open and working. Therefore, the problem is with the head or the pin, not the valve itself. This single test eliminates the need for a professional diagnosis in most cases.
When It’s Not the TRV at All
Sometimes a cold radiator has nothing to do with the TRV. Additionally, other common causes include:
- 🔵 Air trapped in the radiator — bleed it with a radiator key
- 🔵 Sludge buildup inside the radiator — the bottom stays cold while the top warms up
- 🔵 Pump failure — no radiators heat up across the whole system
- 🔵 Closed zone valve — affects a whole section of the house at once
Step-by-Step DIY Fixes for a Stuck TRV Pin
What You’ll Need (Spoiler: Almost Nothing)
This is genuinely one of the easiest DIY heating fixes available. You do not need any plumbing experience, and you do not need to drain the system. All you need is:
- Your hands (for most cases)
- A pencil or blunt pen (optional — for extra leverage)
- A rubber mallet or hammer handle (only if the pin is severely stuck)
The entire process takes between 30 seconds and five minutes, depending on how badly the pin is seized.
The 6-Step Pin Fix
- Turn the TRV head to the highest setting — usually marked with a 5 or a flame symbol.
- Remove the TRV head — it usually unscrews anticlockwise or simply pulls off. No tools needed on most modern models.
- Locate the small metal pin in the centre of the valve body. It should be visible and slightly raised.
- Push the pin in and out repeatedly using your finger or the blunt end of a pencil. Do this 10–15 times with firm but gentle pressure.
- If the pin is severely stuck, gently tap the side of the valve body with a rubber mallet or the handle of a hammer — never the metal head. This light vibration often frees a seized pin instantly.
- Reattach the TRV head and turn your heating on. Wait 10 minutes — your radiator should begin to warm up.
What to Do If the Pin Won’t Move
If the pin remains completely immovable after several attempts, the valve body itself may be damaged or corroded beyond a simple DIY fix. In this case, you have two options. First, try applying a small amount of penetrating oil around the base of the pin and waiting 30 minutes before trying again. Second, if it still won’t move, the valve body likely needs professional replacement — covered in the cost section below.
TRV Head vs. Full Valve: When to Repair or Replace
When a New Head Is All You Need
In many cases, the valve body itself is perfectly fine — it is only the thermostatic head (the dial part you turn) that has failed. The wax capsule inside the head wears out over time, causing it to lose the ability to accurately sense room temperature. Fortunately, replacing just the head is a 5-minute job that requires no draining, no tools, and no plumbing experience.
Replacement heads cost just £15–£45 / $20–$60 at most hardware stores or online. Furthermore, most modern heads are universal-fit or come with adaptor rings, making compatibility straightforward. If your radiator heats up fine when the head is removed but misbehaves with it attached, a new head is almost certainly all you need.
When You Need a Full Valve Replacement
A full valve body replacement is only necessary in specific situations. Specifically, you need a new valve body if:
- 🔴 The pin is permanently seized and cannot be freed by any DIY method
- 🔴 The valve body is visibly leaking from the body itself — not just the head connection
- 🔴 The valve seat is damaged or corroded, preventing the valve from closing fully
- 🔴 The valve body is over 15 years old and showing signs of significant wear
A full valve replacement requires draining that section of the system or using a pipe-freezing kit. Therefore, this job is best left to a professional in most cases.
Side-by-Side Cost Comparison
| Option | UK Cost | US Cost | Time Required | DIY Friendly? |
|---|---|---|---|---|
| Head replacement only | £15–£45 | $20–$60 | 5 minutes | ✅ Yes |
| Full valve replacement (DIY) | £25–£60 | $35–$90 | 1–2 hours | ⚠️ Advanced |
| Full valve replacement (professional) | £80–£160 | $125–$350 | 1–3 hours | ❌ Call a pro |
“Nine times out of ten, homeowners don’t need a full valve replacement at all. A new head costs less than £30 and takes five minutes to fit. We always check the head first — it saves the customer money and saves us time on a job that doesn’t need to be complicated.”
How to Prevent TRV Problems All Year Round
The Monthly Two-Minute Habit
The single most effective way to prevent TRV problems is also the simplest. Once a month — even in summer — turn every TRV in your home fully up to the maximum setting, then fully back down to the minimum. This two-minute routine keeps the pin moving freely and prevents the seasonal seizing that causes the majority of autumn heating call-outs.
It costs nothing, takes no tools, and eliminates the most common TRV problem entirely. Set a monthly phone reminder and make it part of your home maintenance routine.
Radiator Bleeding and Annual Checks
Air trapped inside your radiators forces your system to work harder and can mask TRV problems. Therefore, bleed every radiator once a year — ideally at the start of the heating season. Use a radiator bleed key to open the bleed valve at the top of each radiator until water flows steadily, then close it. Additionally, check each TRV for signs of leaking, stiffness, or visible corrosion during your annual check.
Placement Mistakes That Kill TRVs Early
TRVs sense the temperature of the air immediately around them. Consequently, anything that blocks or distorts that reading will cause the valve to behave incorrectly. Avoid these common placement mistakes:
- 🚫 Covering with curtains — traps heat and causes the TRV to close prematurely
- 🚫 Blocking with furniture — same effect as curtains; the valve reads a false high temperature
- 🚫 Placing near heat sources — lamps, TVs, or direct sunlight confuse the wax capsule sensor
- 🚫 Painting over the valve body — can seize the pin and void any warranty
Smart TRV Upgrades: Better Than Fixing Old Ones?
What Makes Smart TRVs Different
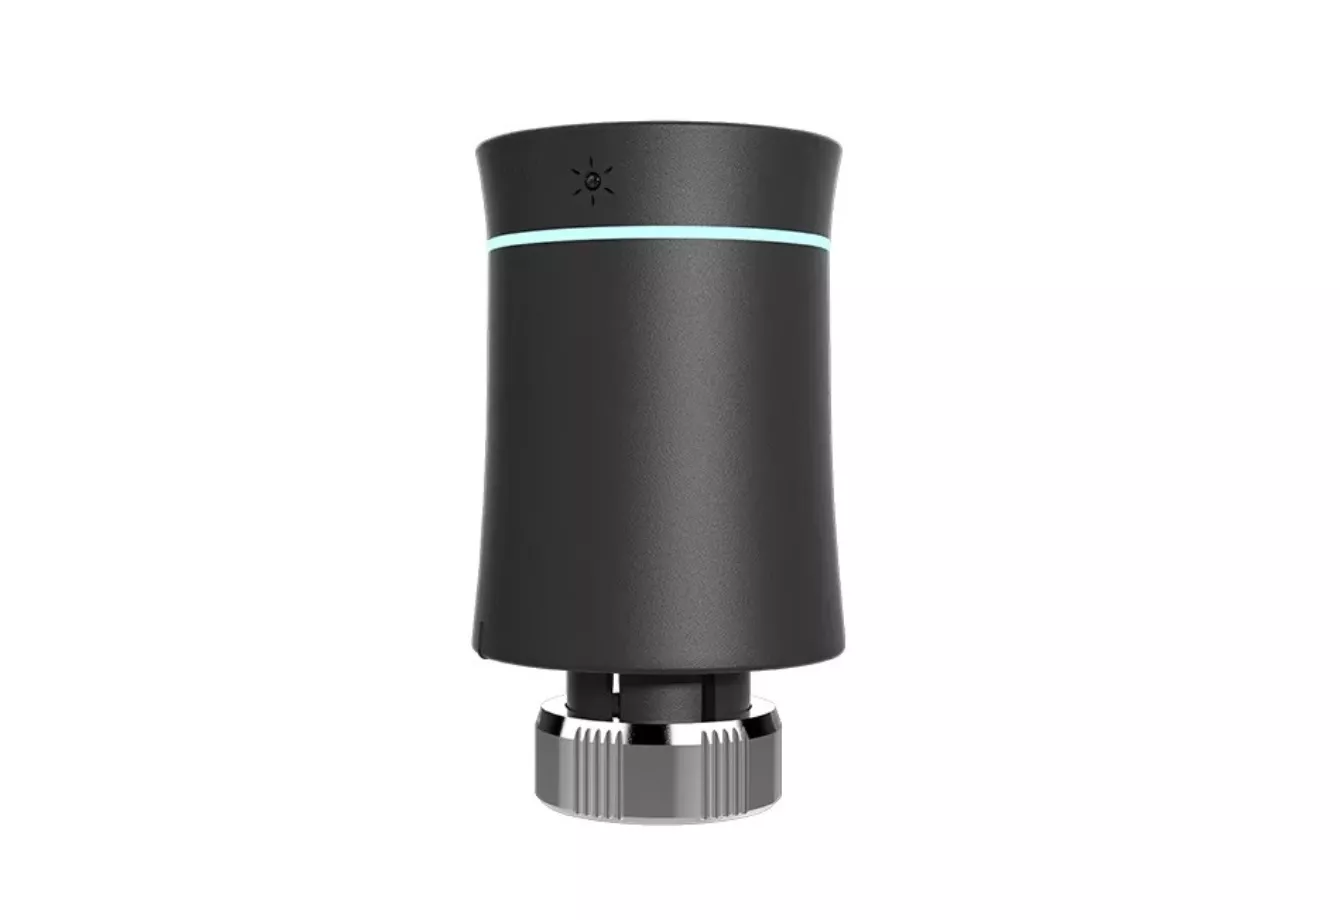
Smart TRVs replace your existing thermostatic head with a Wi-Fi or Zigbee-connected unit that you control via a smartphone app. Beyond remote control, the key advantage for TRV problems is the auto-exercise feature built into most 2026 models. This feature automatically moves the pin at regular intervals — even during summer — which virtually eliminates the seasonal sticking problem entirely.
Furthermore, smart TRVs provide room-by-room scheduling, real-time temperature monitoring, and integration with smart home systems like Amazon Alexa and Google Home.
Are They Worth the Extra Cost?
Smart TRVs typically cost £50–£120 / $65–$160 per head — significantly more than a standard replacement head. However, the long-term case is compelling. According to 2025–2026 manufacturer and independent data, smart TRVs can reduce home heating bills by 10–25% annually through precise zonal control and smarter scheduling.
“Smart TRVs have transformed how we approach radiator maintenance. The auto-exercise function alone has dramatically reduced the number of stuck-pin call-outs we receive each autumn. For most homeowners, upgrading is a smarter long-term investment than repeatedly repairing old valves.”
People Also Ask
How Do I Fix a Stuck TRV?
Remove the TRV head and locate the small metal pin in the centre of the valve body. Push it in and out firmly 10–15 times with your finger or a blunt pencil. If severely stuck, tap the valve body gently with a rubber mallet. Reattach the head and test. This free fix works in the majority of cases and takes under five minutes.
Why Is My Radiator Not Heating Up?
In 9 out of 10 cases, a single cold radiator is caused by a stuck TRV pin after summer inactivity. Remove the TRV head and try the pin-push test first. Also check that the lockshield valve on the other end of the radiator is fully open. If multiple radiators are cold, the issue is likely the boiler or pump — not the TRV.
Can You Replace Just the TRV Head?
Yes — and this is the recommended first step for most TRV problems. Replacement heads cost just £15–£45 / $20–$60 and fit in under five minutes with no draining or tools required. Most modern heads are universal-fit. Replacing the head alone saves £100+ / $150+ compared to a full professional valve replacement.
How Much Does It Cost to Replace a TRV?
A professional full TRV valve replacement costs £80–£160 in the UK and $125–$350 in the US (2026 averages). A head-only replacement is far cheaper — £40–£80 / $60–$120 including labour. Always try the DIY pin fix and head swap before committing to a full valve replacement.
How Long Do Thermostatic Radiator Valves Last?
Quality TRVs last 10–15 years in normal use. The thermostatic head is the weak point and typically needs replacing every 5–10 years. The valve body usually outlasts the head significantly. Regular monthly pin exercises and annual system checks extend the lifespan of both components considerably.
Do TRVs Actually Save Money?
Yes — when working correctly, TRVs deliver precise zonal heating control and can reduce heating bills by 10–25%. A faulty TRV that stays open wastes energy by overheating rooms unnecessarily. Fixing or upgrading a faulty TRV typically pays for itself within one heating season through energy savings alone.
Conclusion
Start Simple — Most TRV Problems Are an Easy Fix
The vast majority of TRV problems come down to one thing: a stuck pin. Before calling a plumber or ordering parts, always try the free DIY pin-push fix first. Remove the head, push the pin in and out, reattach, and test. This single step resolves most cold radiator complaints in under five minutes — at zero cost.
Know When to Upgrade
If your TRV head is old, unreliable, or repeatedly causing problems, a replacement head costing £15–£45 / $20–$60 is almost always the right next step. Full valve replacements are only necessary in a small number of cases — and a professional quote should always be your starting point before committing to that level of repair.
Think Long-Term with Smart TRVs
If you want to eliminate TRV problems permanently while cutting your heating bills by up to 25%, a smart TRV upgrade is worth serious consideration. The auto-exercise feature alone prevents the most common fault from ever occurring again — and the energy savings typically cover the upgrade cost within two to three heating seasons.